
Send a Message to Microsoft Teams using Webhooks and PowerShell
What is Microsoft Teams?
You may have heard of Microsoft Teams by now, but if you haven’t, it is Microsoft’s spin on a collaboration and communication tool for your, well… teams. Microsoft is using Teams as a replacement for their previous Skype for Business solution, and it serves as an alternative to other channel based communication apps like Slack, Discord, Mattermost, etc.
One of the key benefits of Teams is that, if you already have a Microsoft 365 Business or Enterprise license, Teams comes included in that. See Microsoft’s Service Description sheet here for more info on licensing.
Another great thing about Teams, which we are reviewing in this article, is that it has support for Webhook integrations.
Creating an incoming Webhook in Teams
If you’ve never opened Teams before, you can get access to it through one of two ways, either by browsing to https://portal.office.com and selecting the Teams App, or browsing directly to https://teams.microsoft.com.
You can then either download the client to run on your computer, or you can continue in the browser version.
After you sign into teams, you should see something like below:
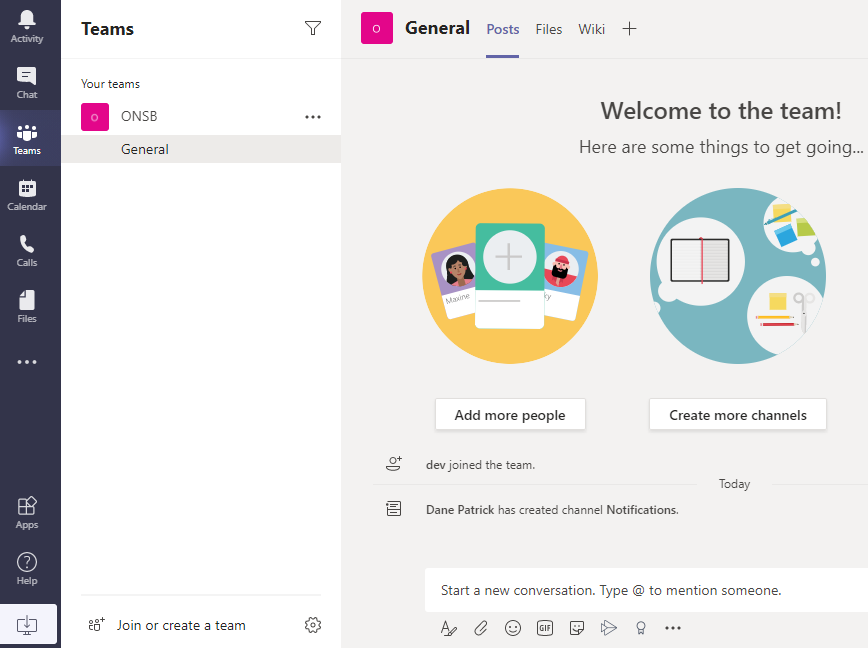
For incoming notifications, I prefer to have a separate channel configured that only certain users or teams will have access to, so that not everyone gets inundated with notifications that aren’t relevant to them.
You can add a new team by clicking on the ellipsis to the right of the Team Name where you want the new channel to appear and selecting “Add Channel.” You’ll need to set a name for the new channel as well as set the privacy setting for it. In my case I am using the name “Notification” and setting the Privacy setting to “Private”. The next screen will give you the option to add users to the channel. You now have your new “Notification” channel!
We can add our incoming Webhook by clicking on the ellipsis next to the new channel we created, and searching for “Webhook” in the screen that follows. “Incoming Webhook” is the option we will want to select.
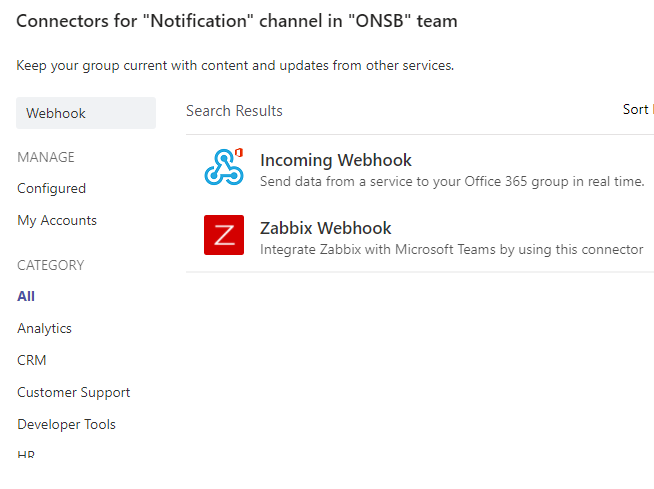
You will be given the option to set a Webhook Name as well as upload a custom image. I am going to stay in line with my previous tutorials on PowerShell, and name my incoming Webhook “Steam Monitor” to tie in with the custom PowerShell monitoring we built in that series. Hit “save” and you will receive a URL for the Webhook. This URL is what we will add to our PowerShell script in order to send our message.
Sending a Message to the Webhook with PowerShell
Let’s open our Code from Part II of the PowerShell series where we setup E-mail Alerting. Below is a link to get to that series in case the articles haven’t made their way into your PowerShell Bookmarks folder.
In the top of our script, where we have our Email Settings variables, let’s add a section right under that for our Webhook URL.
#Webhook Settings
$webhookUrl = "YOUR WEBHOOK URL HERE"
Then, in the section where we have an error count greater than 0 and we are sending our e-mail notification, let’s add the code in for sending a message to the Webhook:
$webhookMessage = [PSCustomObject][Ordered]@{
    "@type"      = "MessageCard"
    "@context"   = "http://schema.org/extensions"
    "summary"    = "SteamMonitor Alert"
    "themeColor" = '700015'
    "title"      = "Issues were found by the SteamMonitor"
    "text"       = "$steamApplicationMessage <br /> $steamServiceMessage"
}

$webhookJSON = convertto-json $webhookMessage -Depth 50

$webhookCall = @{
    "URI"         = $webhookUrl
    "Method"      = 'POST'
    "Body"        = $webhookJSON
    "ContentType" = 'application/json'
}

Invoke-RestMethod @webhookCall
There is a few things going on in the above code. The Webhook for Microsoft Teams using the Javascript Object Notation format, or as it is most commonly referred to as its abbreviation, “JSON.” If you aren’t familiar with JSON, you can learn more about it from this W3Schools article.
Rather than directly type in the JSON format, however, PowerShell allows us to create a PowerShell Custom Object and then convert it to JSON automatically, using the “convertto-json” cmdlet. The “depth” parameter is how many nested items PowerShell will convert into JSON format. This isn’t really important since we are only sending a basic message and we can just set this to a value of 50 for now which will be more than enough for what we are doing.
After the message has been converted to the required JSON format, we can then use another cmdlet called “Invoke-RestMethod.” This cmdlet will be used to send a POST request to the Webhook URL we received from Teams earlier on. We will configure this similar to how we set our Email server settings in the previous tutorial as well.
An added bonus of the teams Webhook, is that the message text supports HTML tags, which is why I added our line break for the two messages using the <br /> tag.
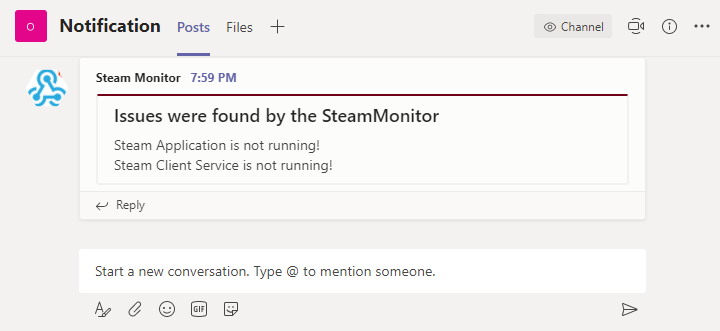
You should now be able to test run the script again, and if the application you are monitoring is not running, you should receive an output similar to below in your Teams Channel:
Congratulations you now have another way to be notified of critical issues on an automated basis!
If you have any questions or feedback for me, please feel free to join my Discord server so we can start a dialogue and I will be happy to help where possible!